How to Remove a Hydraulic Cylinder? Quick & Safe Guide?
To remove a hydraulic cylinder, first depressurize the hydraulic system and disconnect the hydraulic lines. Next, remove the mounting hardware and carefully slide the cylinder out.
Removing a hydraulic cylinder is a common maintenance task in various industries. Proper removal ensures the longevity of the hydraulic system and prevents potential damage. Begin by ensuring the hydraulic system is fully depressurized to avoid accidents. Disconnect the hydraulic lines from the cylinder using appropriate tools.
Carefully label each line to ensure correct reassembly. Remove the mounting hardware, such as bolts or pins, securing the cylinder in place. Gently slide the cylinder out, taking care to support its weight. Proper handling and storage of the cylinder are essential to prevent contamination and damage. Always follow manufacturer guidelines and safety protocols during this process.
Introduction To Hydraulic Cylinder Removal
Hydraulic cylinders play a vital role in various machines. Removing a hydraulic cylinder can seem daunting. This guide aims to simplify the process. Following these steps ensures a safe and efficient removal.
Importance Of Safety And Efficiency
Safety is paramount when working with hydraulic systems. Wear protective gear like gloves and goggles. Ensure the machine is off before starting. Efficiency matters to save time and resources. Follow the steps precisely to avoid errors.
- Always wear gloves and goggles.
- Ensure the machine is off and depressurized.
- Use proper tools for each step.
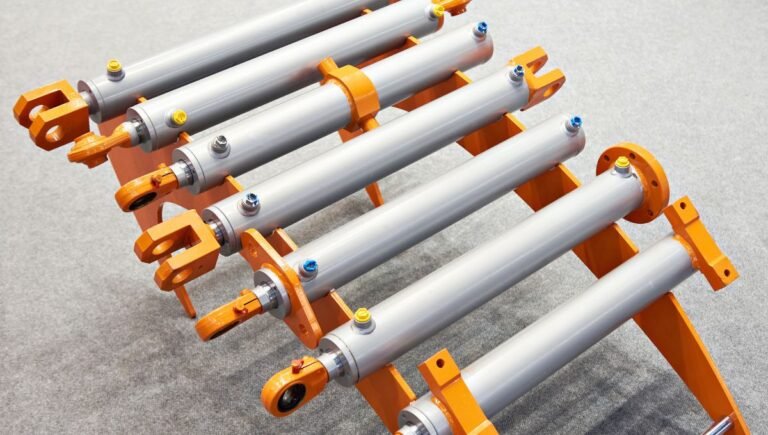
Common Applications Of Hydraulic Cylinders
Hydraulic cylinders are used in many machines. Construction equipment like excavators and loaders use them. Agricultural machinery also relies on hydraulic cylinders. Industrial machines benefit from these powerful components.
| Application | Examples |
|---|---|
| Construction Equipment | Excavators, Loaders |
| Agricultural Machinery | Tractors, Harvesters |
| Industrial Machines | Presses, Lifts |
Preparation For Cylinder Removal
Removing a hydraulic cylinder requires careful preparation. Ensuring proper steps are taken can prevent accidents. Follow these guidelines for a smooth cylinder removal process.
Gathering Necessary Tools And Equipment
Before starting, gather all necessary tools and equipment. Here is a list of what you will need:
- Wrenches: Various sizes for different bolts.
- Screwdrivers: Both flathead and Phillips.
- Pliers: For gripping and twisting.
- Hydraulic fluid container: To catch any spills.
- Safety goggles and gloves: Protect your eyes and hands.
- Clean cloths: To wipe away any grease.
Powering Down The System
Safety is crucial. Ensure the hydraulic system is powered down. Follow these steps:
- Turn off the power supply: Switch off the main power.
- Release pressure: Use the system’s pressure release valve.
- Drain the hydraulic fluid: Place the container under the drain valve.
- Disconnect hoses: Use wrenches to carefully remove hoses.
Make sure no pressure remains in the system. Check twice to be sure. This prevents accidents and ensures a safe working environment.
Identifying The Type Of Hydraulic Cylinder
Before removing a hydraulic cylinder, you must identify its type. There are various types of hydraulic cylinders, each with unique features. Knowing the cylinder type helps you follow the correct removal steps. This section will guide you through identifying your hydraulic cylinder.
Differences Between Single-acting And Double-acting Cylinders
Hydraulic cylinders can be single-acting or double-acting. Understanding their differences is crucial.
- Single-Acting Cylinders: These cylinders have one port. They rely on hydraulic fluid for extension. They use gravity or another force for retraction.
- Double-Acting Cylinders: These cylinders have two ports. They use hydraulic fluid for both extension and retraction. This allows for more control and power.
Check your cylinder for the number of ports. This will help you identify its type.
Recognizing Mounting Styles
The mounting style of a hydraulic cylinder affects how you remove it. There are several common mounting styles:
| Mounting Style | Description |
|---|---|
| Flange Mount | Mounted using a flange attached to the cylinder body. |
| Clevis Mount | Mounted using a clevis pin at the end of the cylinder rod. |
| Trunnion Mount | Mounted using trunnion pins on the sides of the cylinder. |
| Pivot Mount | Mounted using pivot pins for flexible movement. |
Check your cylinder’s mounting style. This helps in planning the removal process.
By understanding these aspects, you can identify your hydraulic cylinder type. This ensures a smooth removal process.
Depressurizing The Hydraulic System
Depressurizing the hydraulic system is crucial for safety. Removing a hydraulic cylinder starts with releasing the system pressure. This prevents accidents and ensures a smooth process.
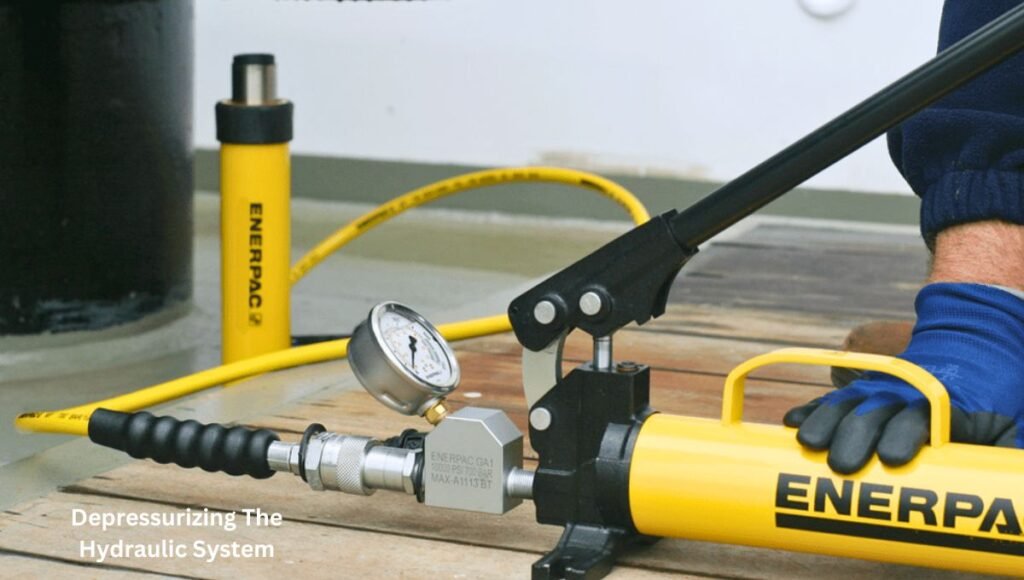
Steps To Safely Release Pressure
- Turn Off the Machine: Ensure the machine is off. Disconnect the power source.
- Locate the Pressure Release Valve: Find the valve in your hydraulic system.
- Slowly Open the Valve: Open the valve gradually. This releases the pressure safely.
- Check the Pressure Gauge: Ensure the gauge shows zero pressure.
- Double-Check All Connections: Inspect connections for any remaining pressure.
Handling Hydraulic Fluids
Handling hydraulic fluids requires care. These fluids can be harmful. Follow these steps for safe handling:
- Wear Protective Gear: Use gloves and goggles to protect yourself.
- Use Proper Containers: Store fluids in approved containers.
- Dispose of Fluids Correctly: Follow local regulations for disposal.
- Clean Spills Immediately: Use absorbent materials to clean up spills.
- Label Fluid Containers: Clearly label all containers with their contents.
Always prioritize safety when dealing with hydraulic systems. Properly depressurizing the system and handling fluids safely are key steps.
Disconnecting The Hydraulic Lines
Disconnecting the hydraulic lines is a crucial step in removing a hydraulic cylinder. Properly executing this step ensures the smooth operation of your equipment and prevents damage. Follow these steps carefully to disconnect the hydraulic lines safely and efficiently.
Preventing Contamination
Preventing contamination is vital to maintain the hydraulic system’s integrity. Dirt and debris can cause significant damage. Here’s how to prevent contamination:
- Clean the area around the hydraulic lines with a cloth.
- Use caps and plugs to seal the ends of disconnected lines.
- Store the disconnected lines in a clean environment.
Ensure all tools and equipment used are also clean. This step prevents any dirt from entering the system.
Managing Leaks And Spills
Managing leaks and spills is essential for safety and cleanliness. Hydraulic fluid can be hazardous and slippery. Follow these tips to manage leaks:
- Place a drip tray under the hydraulic lines before disconnecting.
- Use absorbent mats to soak up any spills.
- Dispose of used absorbent materials safely and properly.
Always wear protective gloves and eyewear when handling hydraulic fluid. This protects your skin and eyes from harmful chemicals.
| Steps | Action |
|---|---|
| 1 | Clean the area around the lines |
| 2 | Use caps and plugs to seal ends |
| 3 | Place a drip tray under lines |
| 4 | Use absorbent mats for spills |
By following these steps, you ensure the hydraulic system remains clean and safe. Proper handling of hydraulic lines is crucial for the longevity and efficiency of your equipment.
Removing Cylinder Mounting Hardware
Removing hydraulic cylinder mounting hardware is crucial. It ensures safe and efficient maintenance. Follow these steps to detach the mounting hardware effectively.
Detaching Pins And Bolts
First, identify the pins and bolts securing the cylinder. Use the correct tools for each component. A socket wrench works well for bolts. For pins, use a pin punch and hammer.
- Place the cylinder in a stable position.
- Use the socket wrench to loosen bolts.
- Remove each bolt one by one.
- For pins, align the punch with the pin.
- Tap gently with a hammer to push out the pin.
Keep all removed hardware in a safe place. This prevents loss and ensures easy reassembly.
Dealing With Corrosion And Seized Components
Corrosion can make removal tough. Apply a penetrating oil to loosen corroded parts. Allow it to sit for a few minutes.
- Spray the oil on the affected area.
- Wait for 10-15 minutes for the oil to penetrate.
- Try loosening the bolts or pins again.
If components are seized, use a breaker bar. This provides extra leverage. Be careful to avoid damage.
| Tool | Purpose |
|---|---|
| Socket Wrench | Loosening bolts |
| Pin Punch | Removing pins |
| Hammer | Driving out pins |
| Penetrating Oil | Loosening corroded parts |
| Breaker Bar | Extra leverage for seized parts |
Ensure all parts are free from corrosion. Clean each part thoroughly before reassembly.
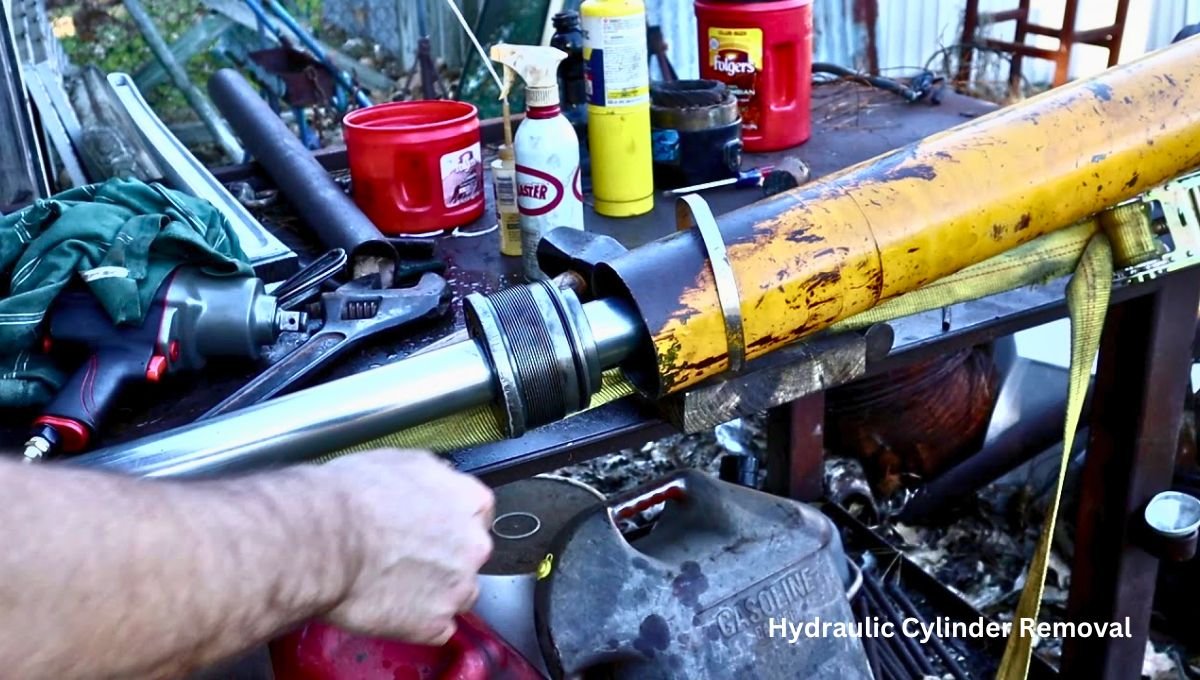
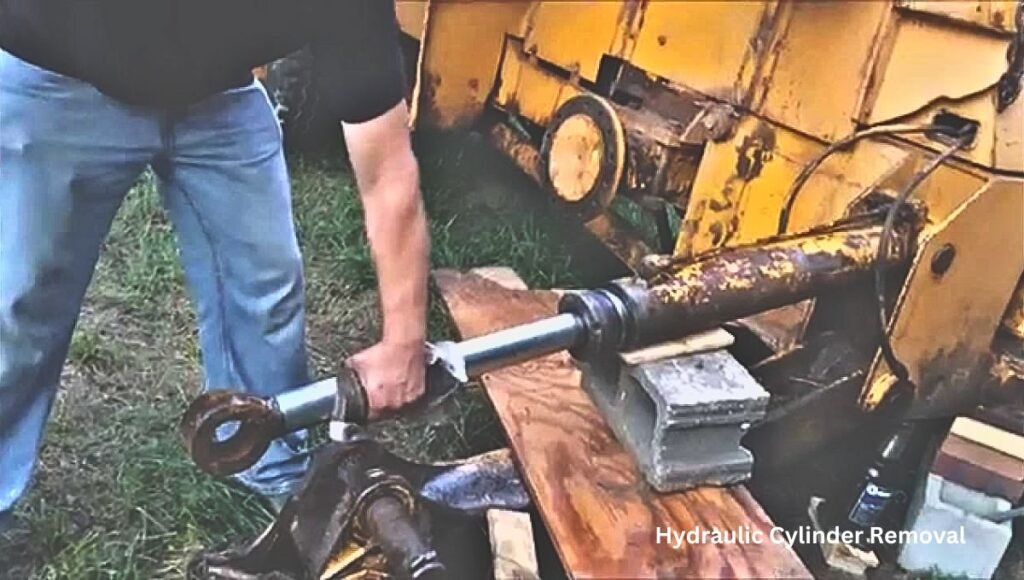
Extracting The Cylinder From The Machine
Removing a hydraulic cylinder from a machine requires careful planning. It is important to ensure safety and efficiency throughout the process. Follow the steps below to extract the cylinder successfully.
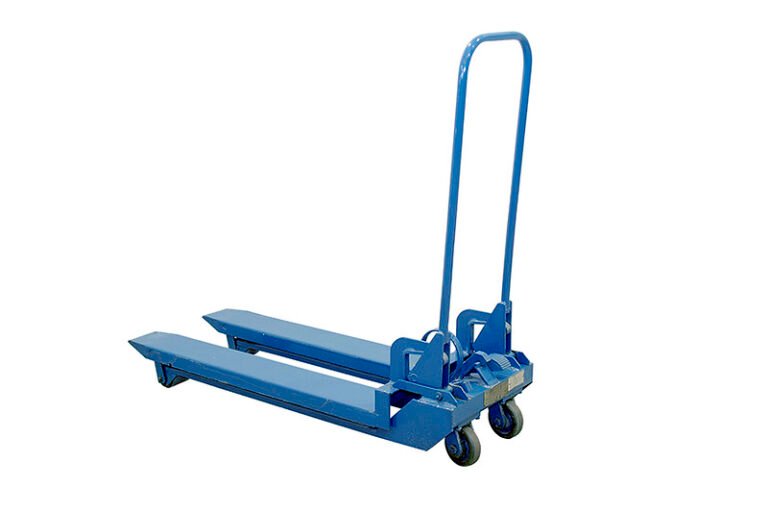
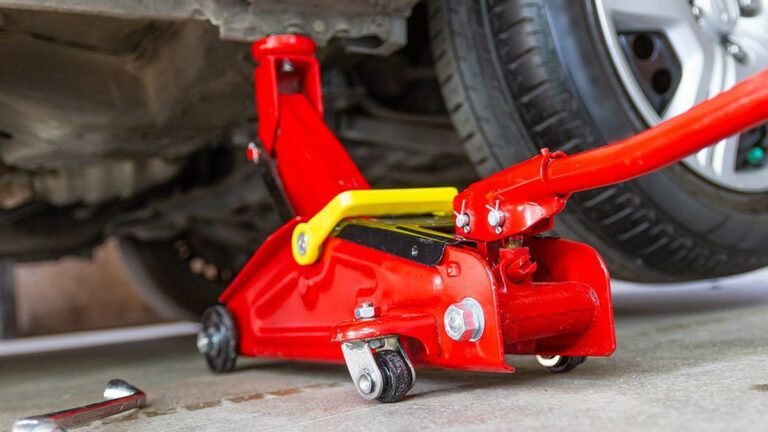
Using The Right Lifting Techniques
Use the right tools to lift the hydraulic cylinder. A hydraulic jack or crane can help. Make sure the lifting tool is in good condition. Position the lifting tool properly under the cylinder.
Always lift the cylinder slowly and steadily. This will prevent any sudden movements. Sudden movements can cause injury or damage the machine.
Ask for help if the cylinder is too heavy to lift alone. Teamwork can make the process safer and easier.
Ensuring Stability And Balance
Stability and balance are crucial during the extraction process. Use supports to keep the machine stable. Place blocks or stands under the machine.
Check the balance of the cylinder before lifting. An unbalanced cylinder can be dangerous. Adjust the lifting tool if needed.
| Step | Action |
|---|---|
| 1 | Position the lifting tool |
| 2 | Lift the cylinder slowly |
| 3 | Check for stability |
| 4 | Adjust if needed |
Keep an eye on the cylinder while lifting. Constant monitoring helps ensure it stays balanced. Stop immediately if you notice any issues.
Reassess the situation and make necessary adjustments. Safety should always be the top priority.
Post-removal Procedures
Once the hydraulic cylinder is removed, specific steps ensure proper repair or replacement. These steps prevent issues in future operations. This section covers the crucial steps in post-removal procedures.
Inspecting The Cylinder For Damage
After removal, closely examine the hydraulic cylinder. Look for visible signs of wear, such as cracks, dents, or scratches. Check all seals for leaks or tears. Inspect the piston rod for straightness and smoothness. Use a micrometer to measure the diameter and ensure it meets specifications. Ensure the cylinder bore is free from scoring or pitting.
| Inspection Area | What to Look For |
|---|---|
| Seals | Leaks, tears, or wear |
| Piston Rod | Straightness, smoothness |
| Cylinder Bore | Scoring, pitting |
Preparing For Repair Or Replacement
Decide if the cylinder needs repair or replacement. Gather necessary tools and replacement parts. Ensure the workspace is clean and organized. If repairing, follow the manufacturer’s guidelines. Use only approved replacement parts. Test the repaired cylinder to ensure it operates smoothly. For replacements, ensure the new cylinder matches the old one in size and specifications.
- Gather tools and parts
- Clean and organize workspace
- Follow manufacturer’s guidelines
- Use approved parts
- Test after repair
By following these steps, you ensure the hydraulic system operates efficiently. Proper inspection and preparation are key to a successful repair or replacement.
Safety Tips And Best Practices
Removing a hydraulic cylinder can be tricky. Proper safety measures are essential. Here are some key tips and best practices to ensure a safe and successful process. Follow these guidelines to avoid accidents and common errors.
Personal Protective Equipment (ppe)
Wearing the right Personal Protective Equipment (PPE) is crucial. Always wear safety goggles to protect your eyes from debris. Use heavy-duty gloves to shield your hands from sharp edges. Steel-toe boots are a must to protect your feet from falling objects.
- Safety Goggles – Protect your eyes from debris.
- Heavy-Duty Gloves – Shield your hands from sharp edges.
- Steel-Toe Boots – Prevent injuries from falling objects.
Make sure your clothing is tight-fitting. Loose clothing can get caught in machinery. Always wear a hard hat if working in a construction area.
Avoiding Common Mistakes
Many people make common mistakes to remove a hydraulic cylinder. Follow these tips to avoid them.
- Release Pressure – Always release hydraulic pressure before starting.
- Use Proper Tools – Use the right tools for the job.
- Follow Manufacturer’s Instructions – Adhere to guidelines specific to your equipment.
Never rush the process. Take your time to ensure each step is done correctly. Double-check connections before removing any parts. This can prevent serious accidents.
| Common Mistake | Consequence |
|---|---|
| Not Releasing Pressure | Can cause sudden release of hydraulic fluid. |
| Using Wrong Tools | May damage the cylinder or cause injury. |
| Ignoring Instructions | Can lead to improper removal and accidents. |
By following these safety tips and best practices, you can remove a hydraulic cylinder safely and efficiently. Always prioritize safety to avoid accidents and ensure a smooth process.
Troubleshooting Common Removal Issues
Removing a hydraulic cylinder can be tricky. Sometimes, issues arise that make the job difficult. Knowing how to troubleshoot these problems can save time and frustration.
Addressing Stuck Pistons
Stuck pistons are a common issue. To free a stuck piston, follow these steps:
- First, ensure the hydraulic system is off.
- Next, release any pressure in the cylinder.
- Apply a penetrating oil to the piston area.
- Let the oil sit for a few hours.
- Use a rubber mallet to gently tap the piston.
If the piston remains stuck, you may need a hydraulic puller. Attach the puller to the piston and apply force carefully. Be patient and avoid using excessive force.
Solving Alignment Problems
Alignment problems can make cylinder removal challenging. Misalignment can cause binding and damage. To solve alignment issues, follow these tips:
- First, check the cylinder mounts for wear or damage.
- Ensure all mounting bolts are tight and secure.
- Use a straight edge to check the alignment of the cylinder.
- If the cylinder is out of alignment, loosen the mounts slightly.
- Adjust the cylinder until it aligns correctly.
- Once aligned, tighten all mounting bolts.
Proper alignment ensures smooth removal and avoids damage. Always double-check the alignment before proceeding.
| Problem | Solution |
|---|---|
| Stuck Piston | Use penetrating oil and a rubber mallet. |
| Misalignment | Check mounts, adjust and tighten bolts. |
How Do You Remove A Hydraulic Cylinder?
First, relieve the system pressure and disconnect the hydraulic lines. Then, remove the mounting pins or bolts. Finally, carefully slide the cylinder out.
What Tools Are Needed To Remove A Hydraulic Cylinder?
You will need wrenches, a socket set, pliers, and possibly a hydraulic puller. Ensure you have safety gear like gloves and goggles.
Can You Remove A Hydraulic Cylinder By Yourself?
Yes, you can remove it by yourself. However, having an assistant can make the process easier and safer.
How Long Does It Take To Remove A Hydraulic Cylinder?
It typically takes about 1-2 hours, depending on your experience and the complexity of the setup. Ensure you follow safety protocols.
Conclusion
Successfully removing a hydraulic cylinder requires careful steps and attention to safety. By following our guide, you can complete the task efficiently. Remember to use the right tools and take necessary precautions. Regular maintenance ensures your hydraulic systems run smoothly.
Keep learning and practicing for best results.